
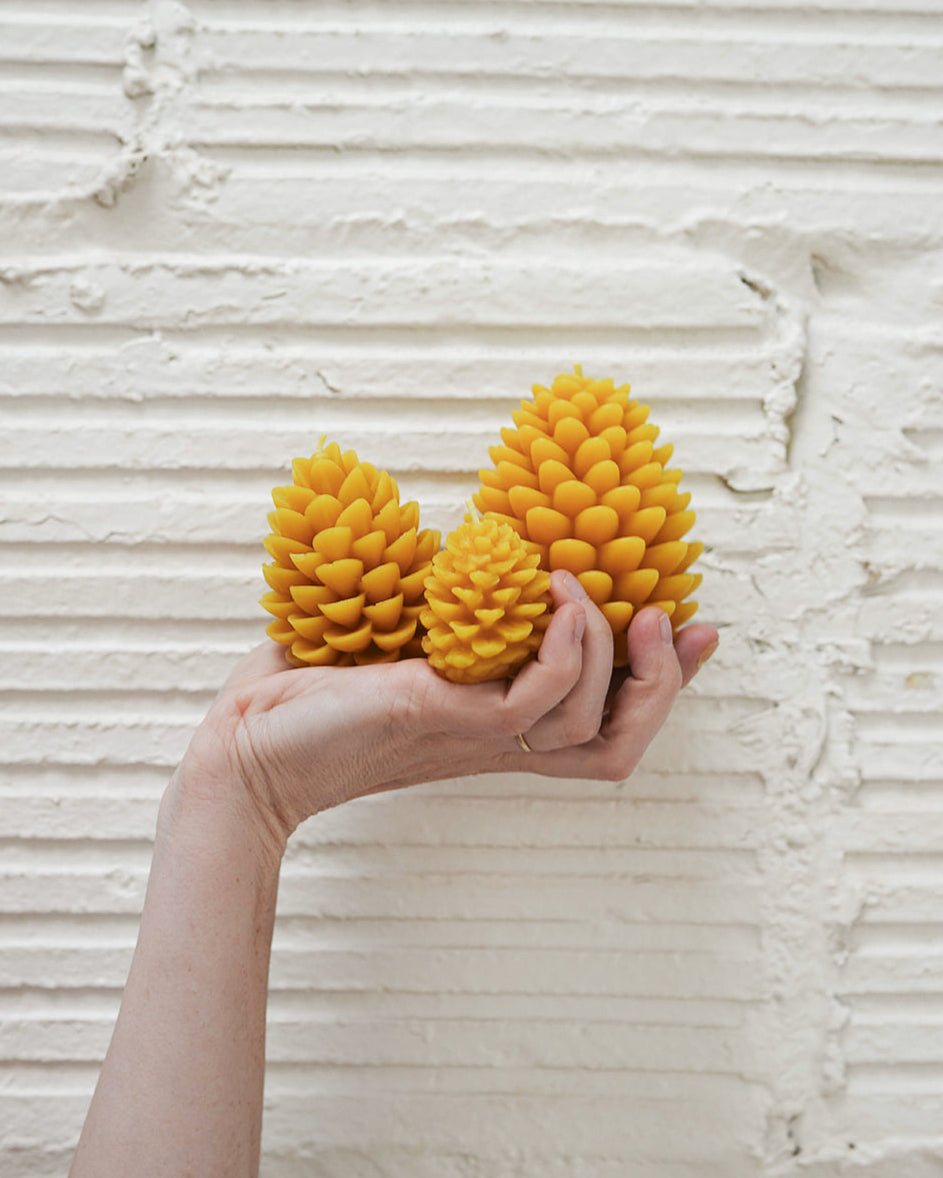
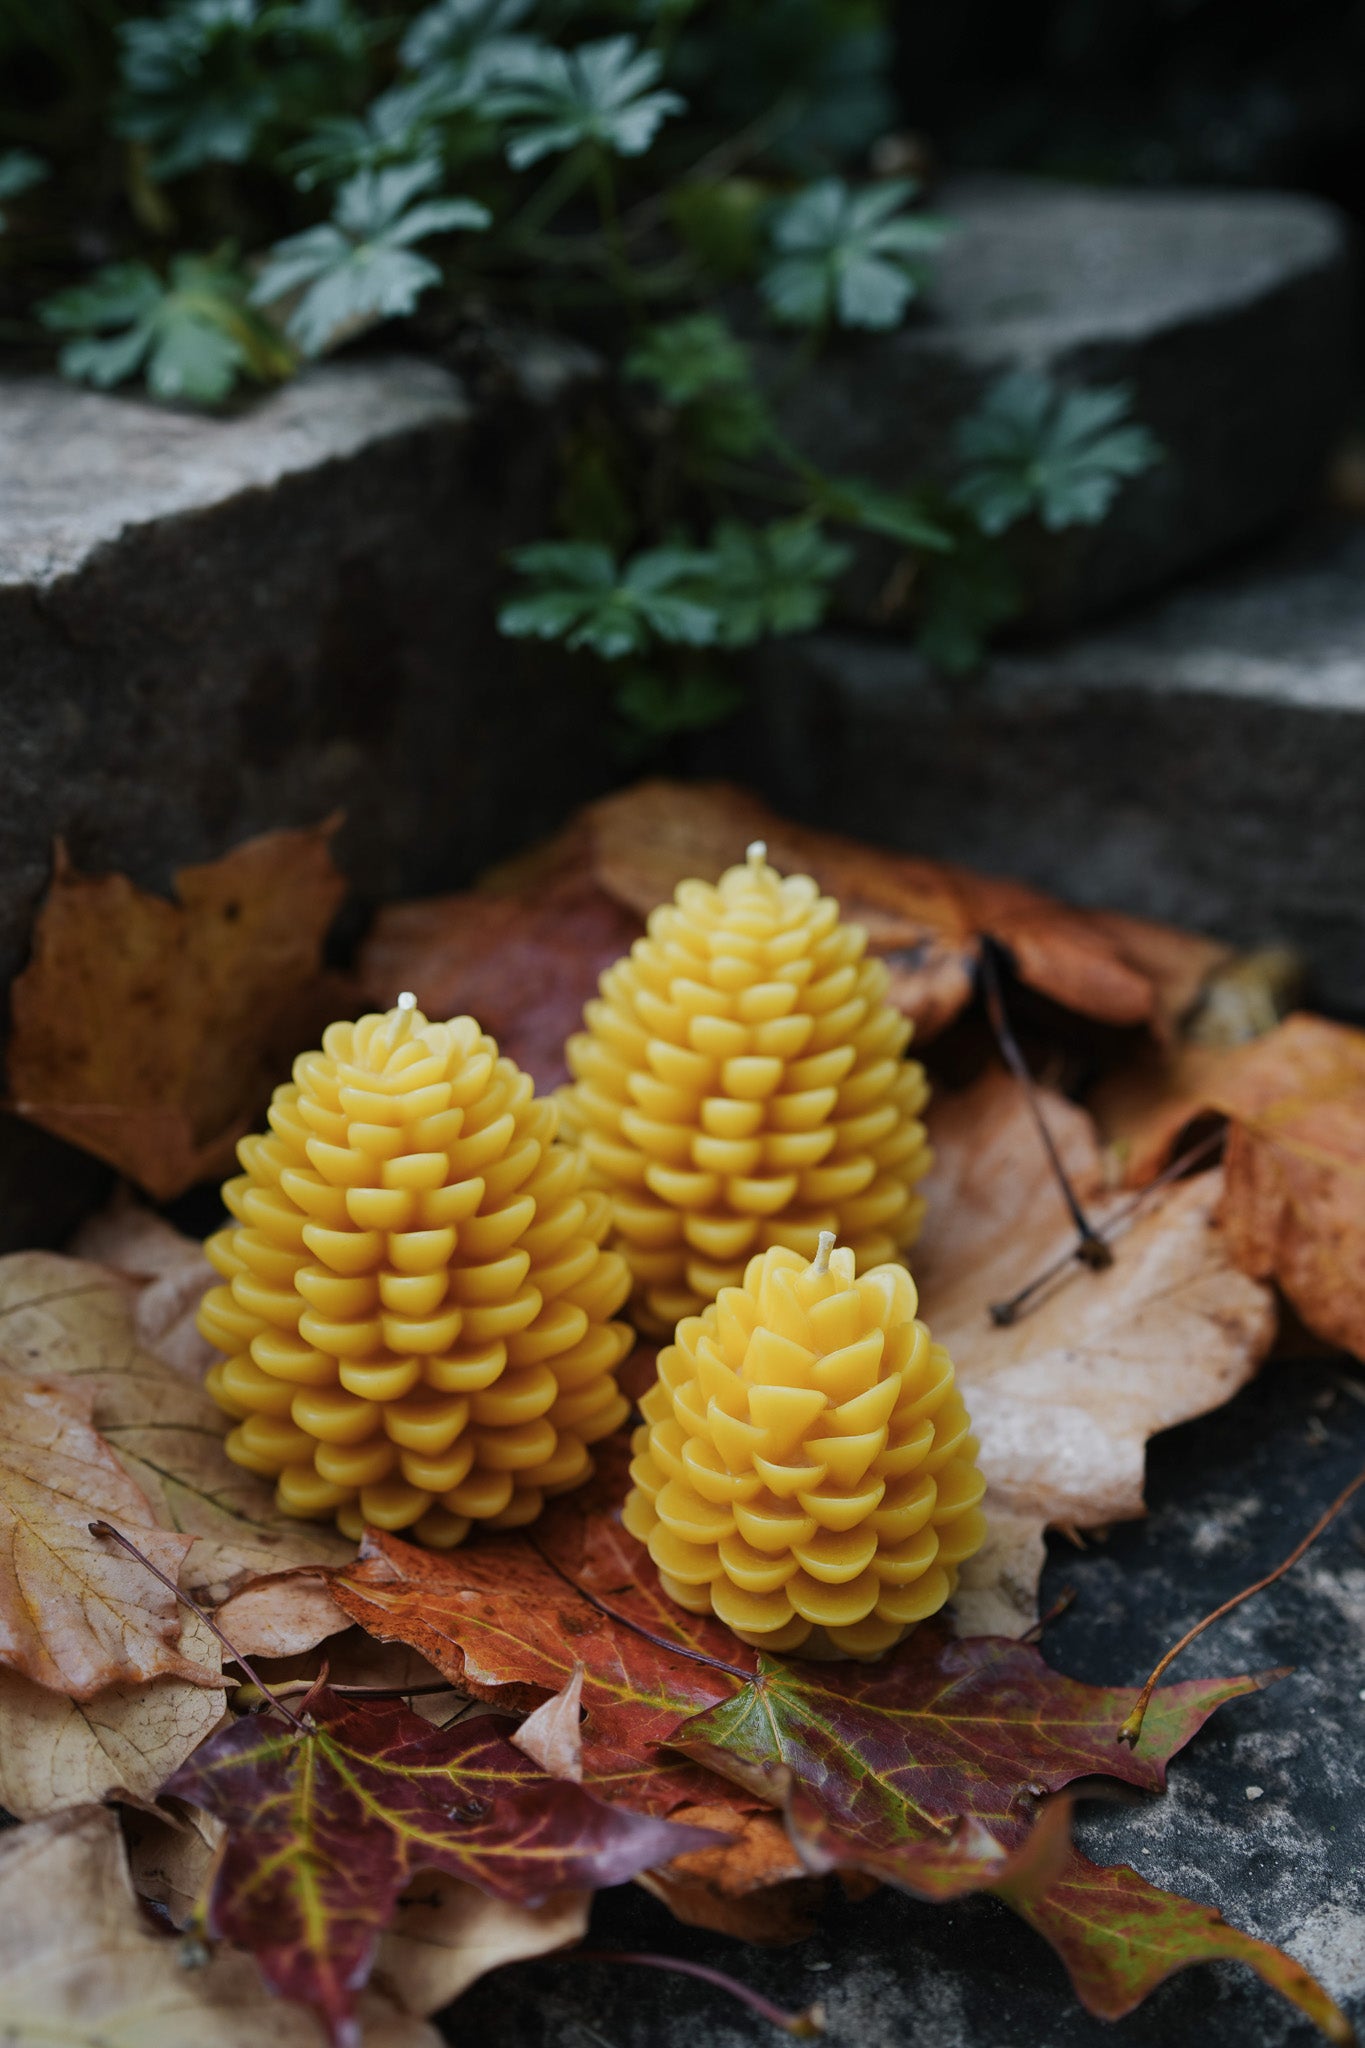
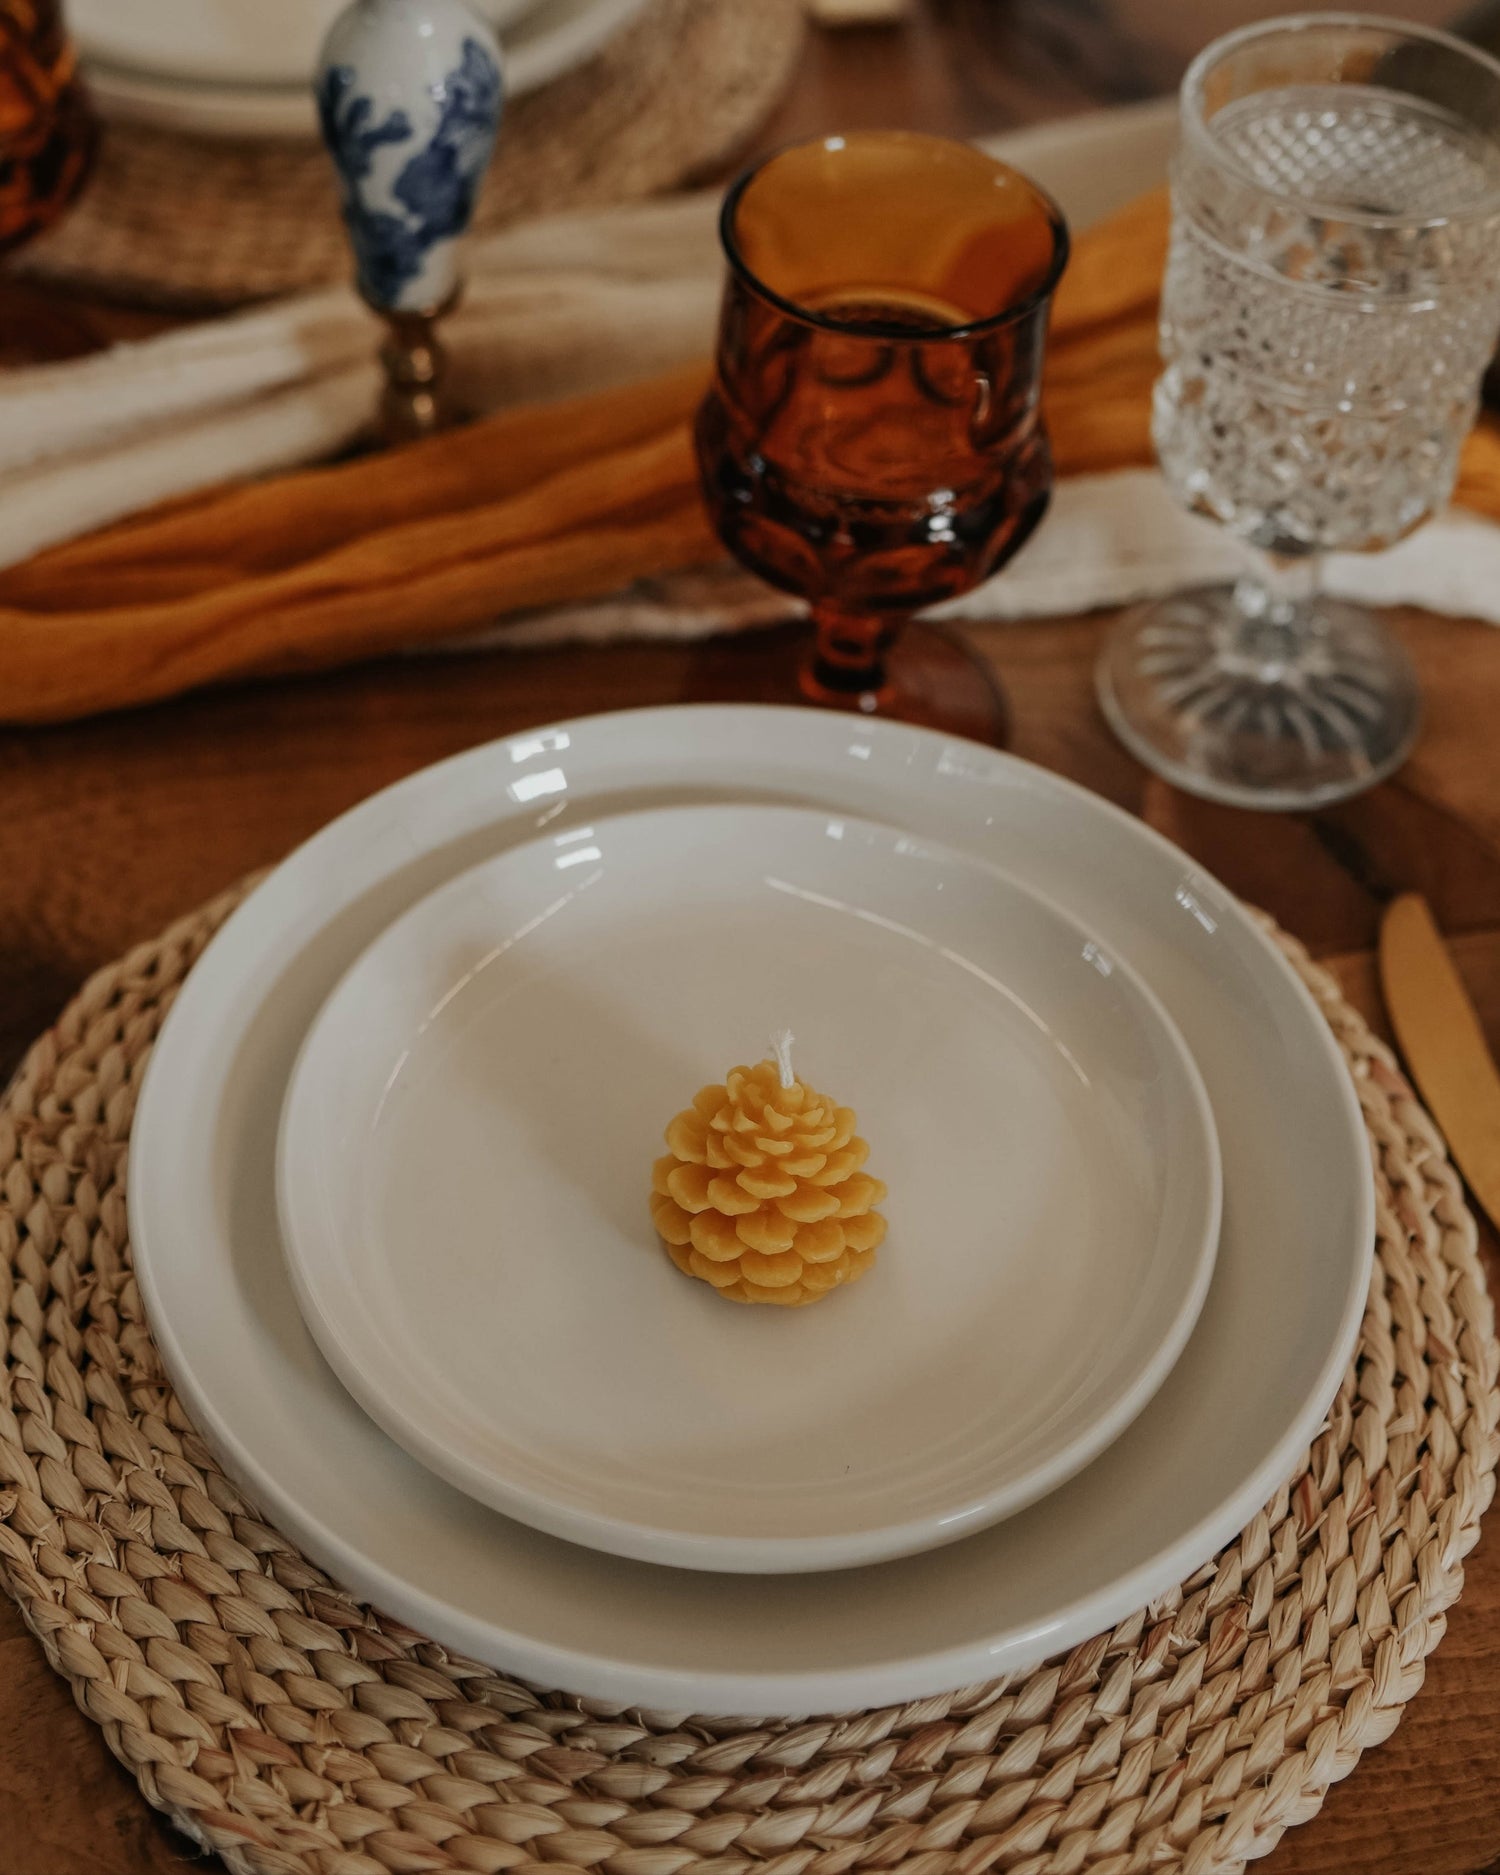
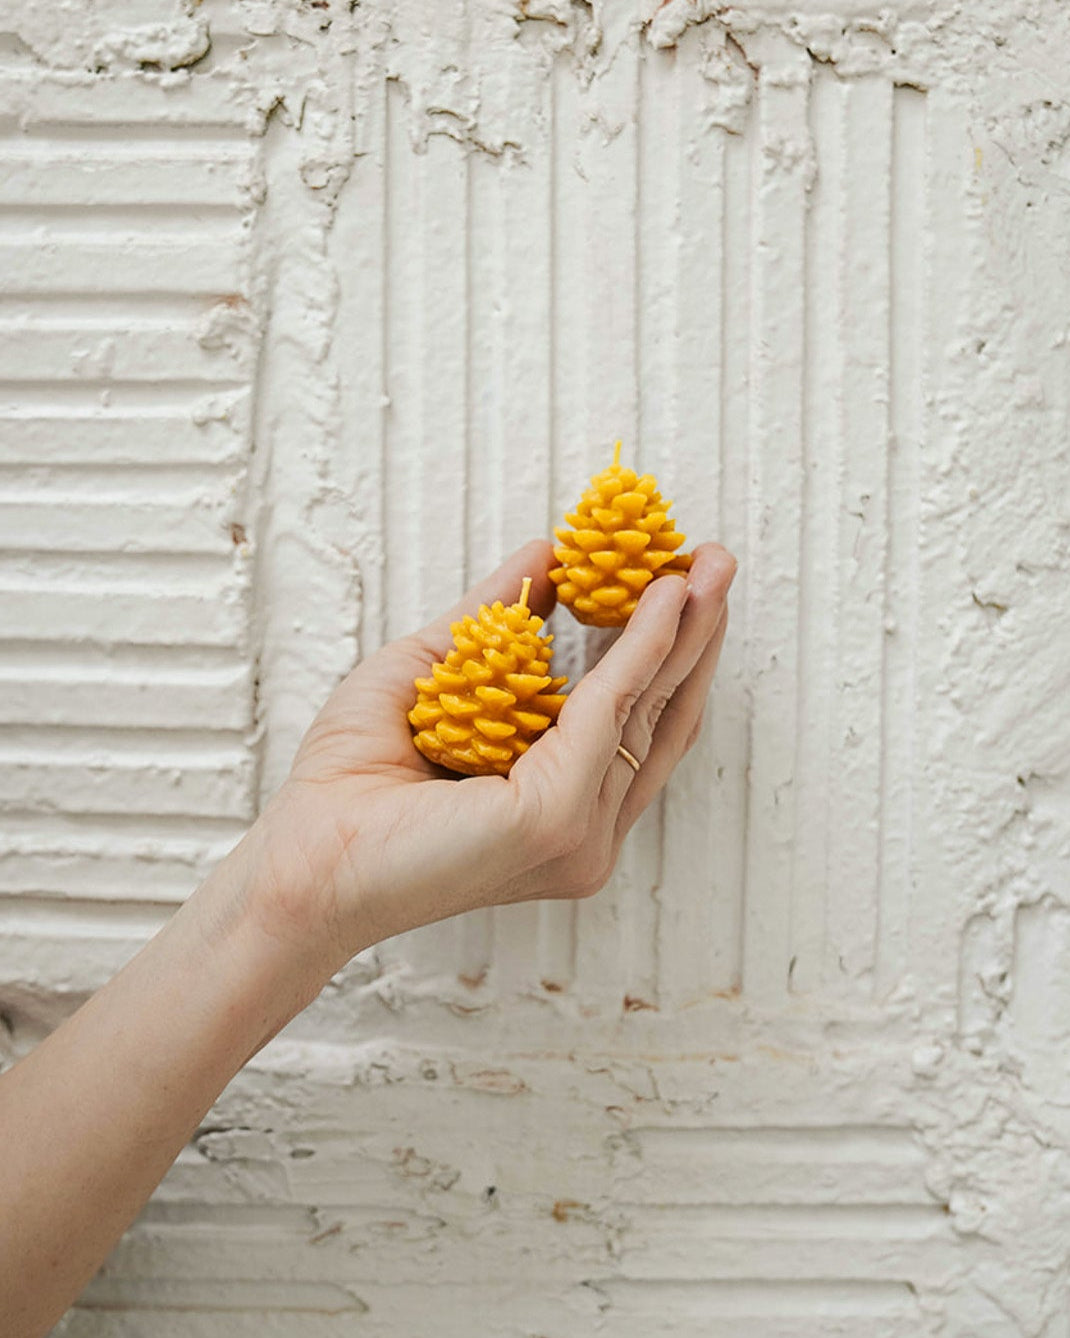
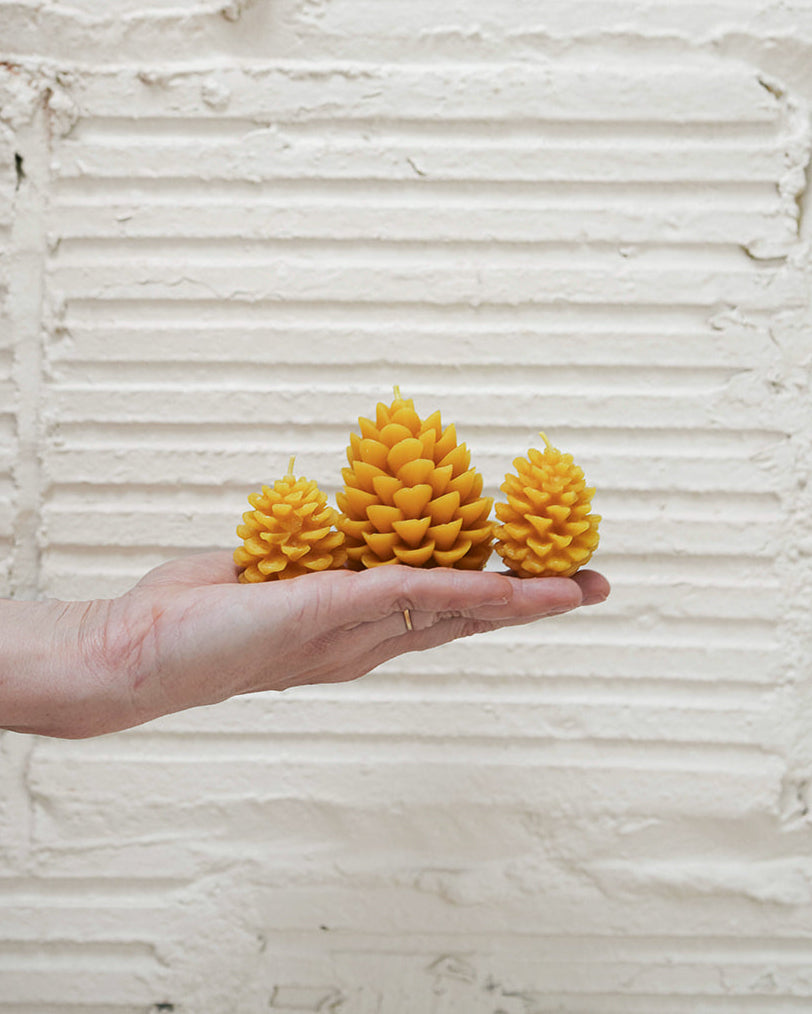
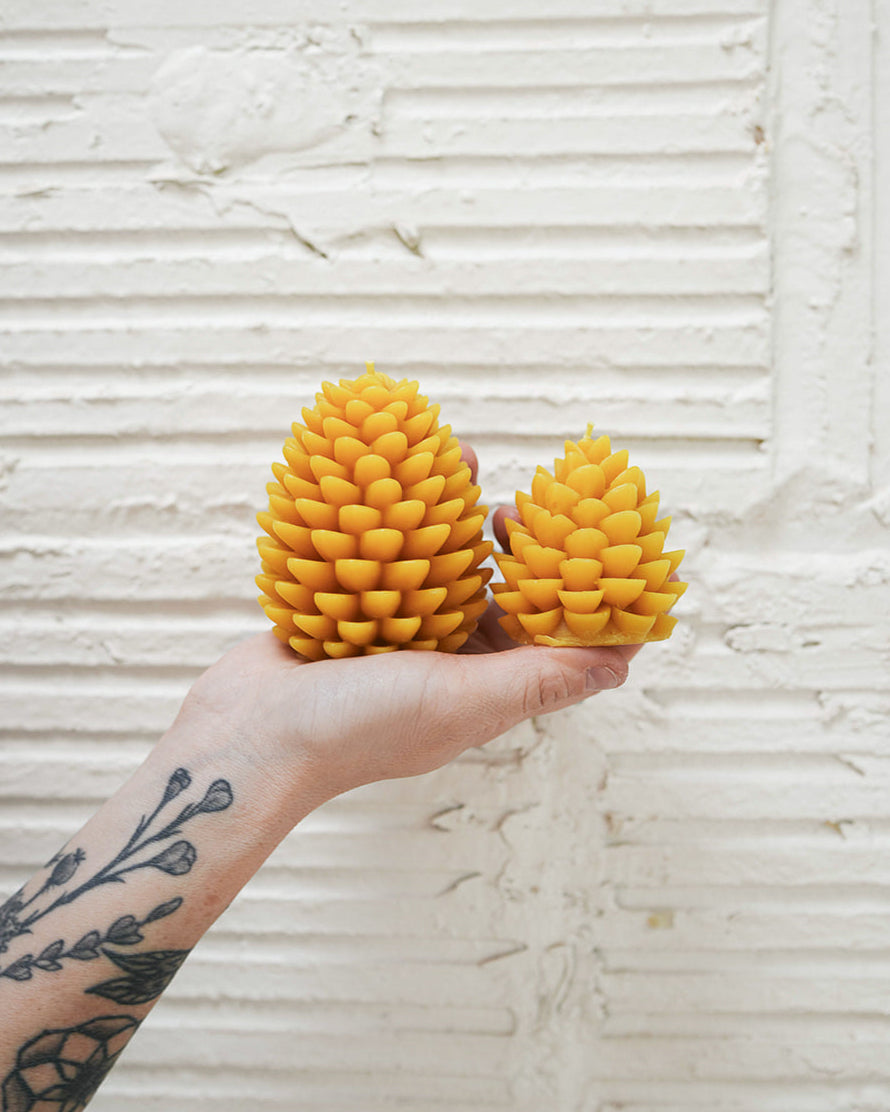
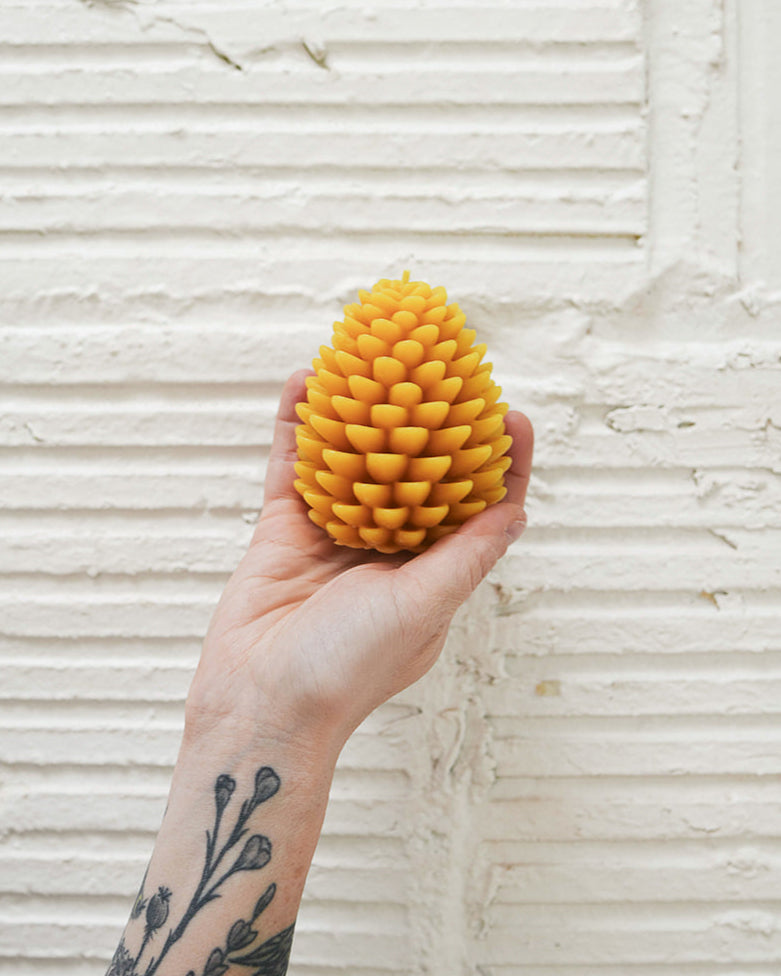
Pinecones
Couldn't load pickup availability
Size & Burn Time:
- Small: 1” x 1” x 1" - Burn Time 2 hours
- Medium: 2" x 2" 2.75" - Burn Time 8 hours
-
Large: 3” x 3” x 3.75" - Burn Time 25 hours
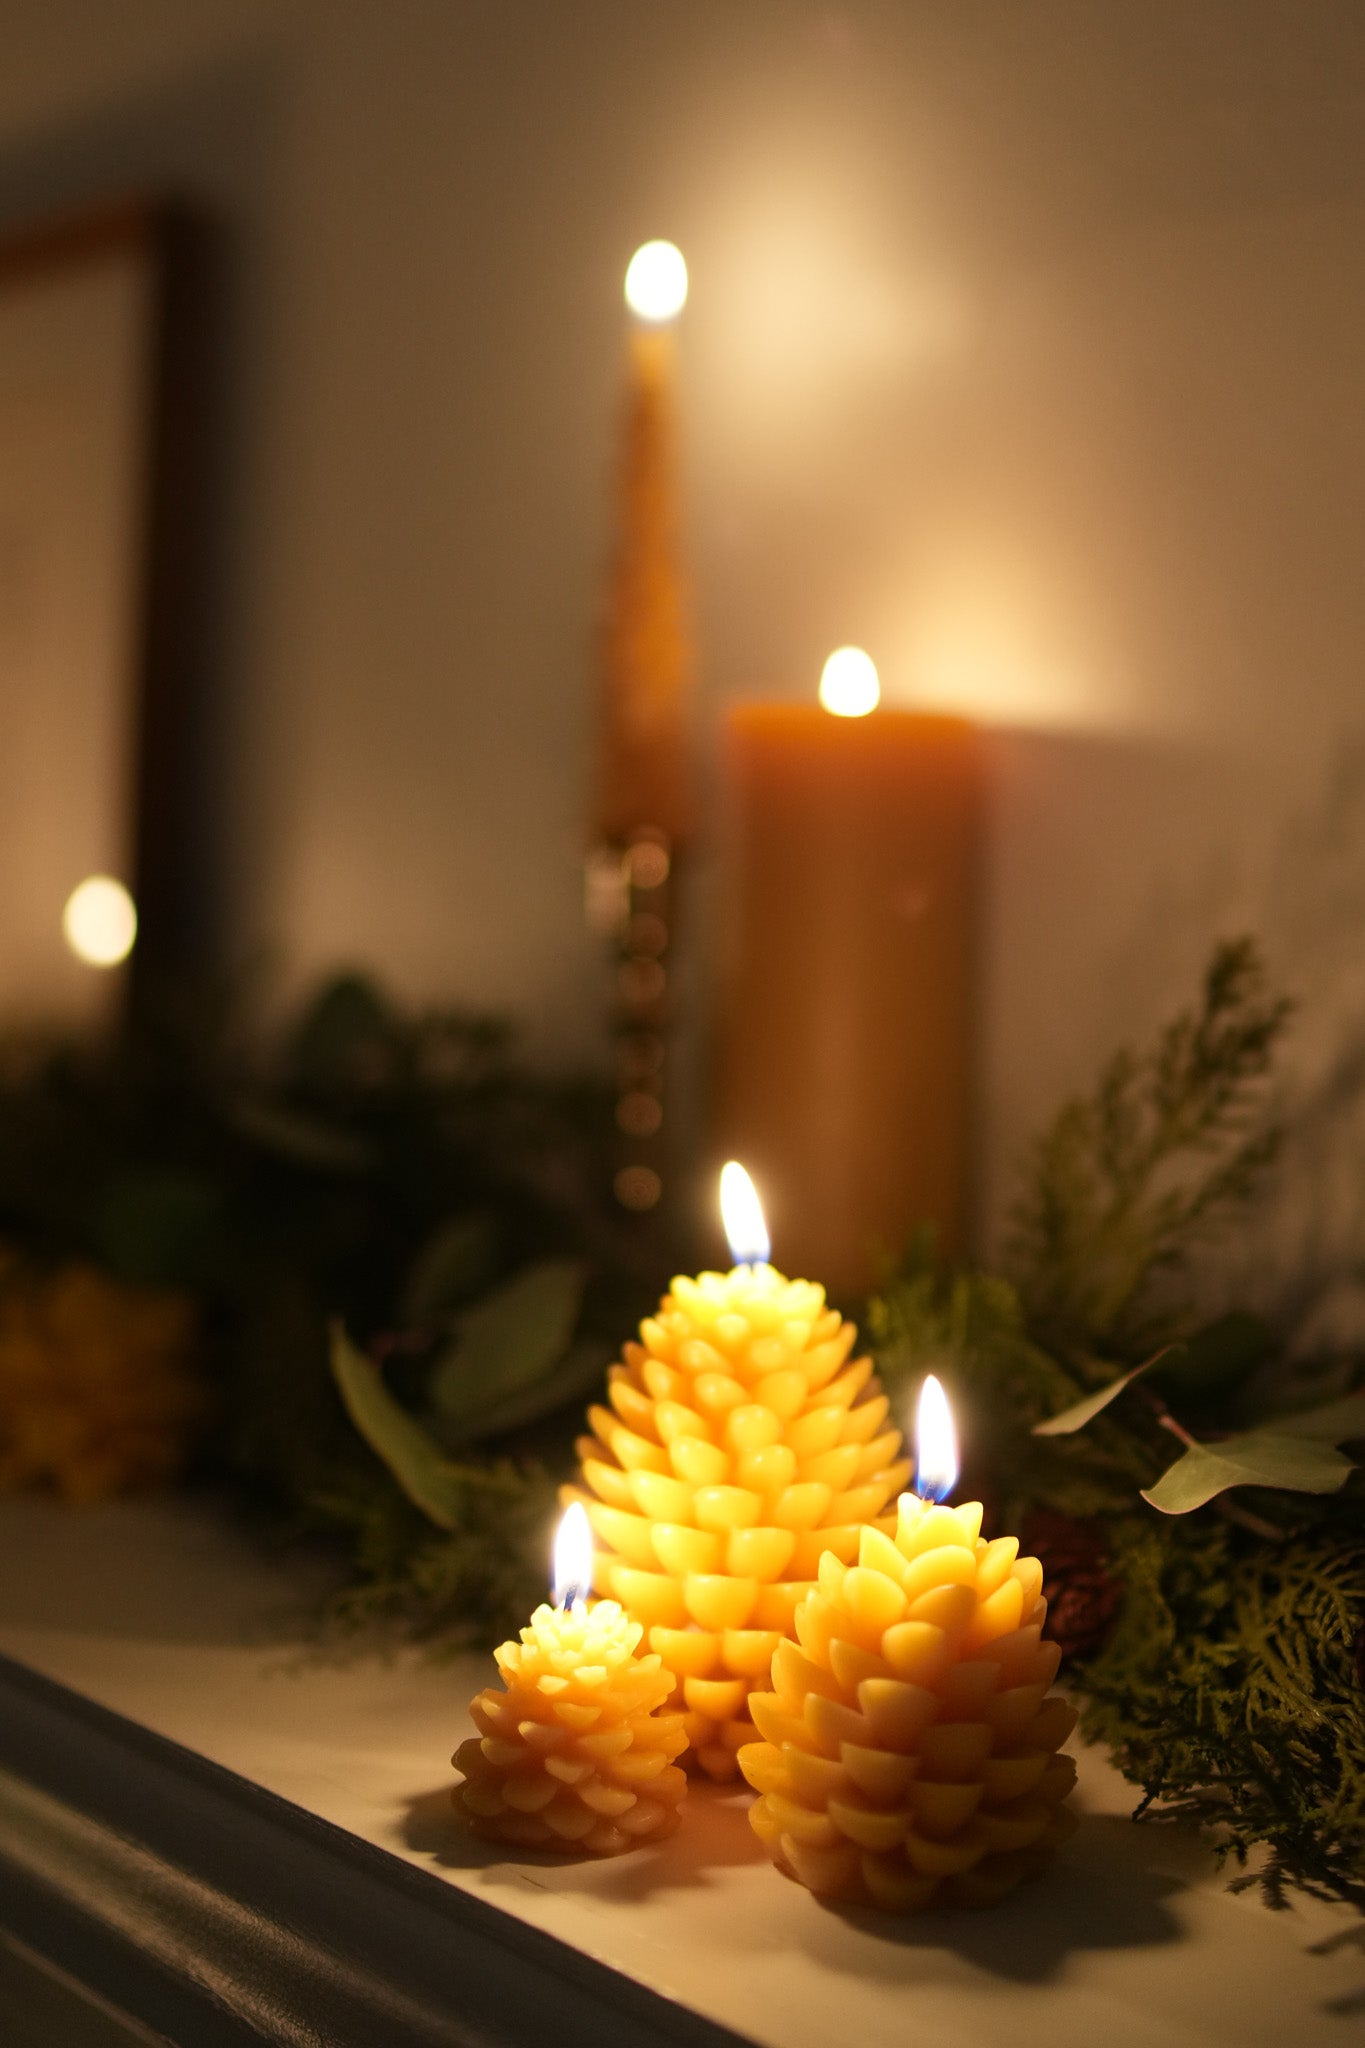
Minimum Burn Time for LARGE Pinecone: This candle varies in its diameter. It starts more narrow and then increases to 5”. Start burning the candle with a minimum burn time of 2 hours and then increase to 4-5 hours as you get to more of the candle’s girth.
Remember to trim your wick to 1/4” as you burn the large pinecone candle!
Burn Recommendation SMALL Pinecone: This candle allows you a shorter burn session so I like to categorize it as a “burn and blow” candle. Maybe not as quick a birthday candle though; establish a small melt pool before you blow it out.
In general, the minimum burn time is equal in hours to the inches of the candle’s diameter. This is the shortest amount of time you want to burn your candles each time. You can burn for longer than recommended burn time but remember to pause and trim your wick throughout your burn.
What will happen if I burn my candles for shorter durations than the recommended burn time? You will tunnel your wick.
Tunneling happens when the liquid melt pool does not extend wide enough to the walls of the candle and your wick can’t hold a flame. Repeat burns that are too short will create a narrow tunnel limiting the amount of oxygen that can get to the flame. The wick will drown in its own melt pool and you’ll be left with a big chunk of wax that you can’t burn.
So slow down and enjoy burning your candle :)
Please note, just like in nature each Pinecone candle will be different and have its own unique flaws.

Burn Tips for Pillars
To preserve the life of your candle I suggest you follow the guidelines listed below.
Burn Times
The very first time you burn your candle it is important that you burn it long enough to create a wide “melt pool” (liquid wax). Ideally, your first burn will create a melt pool that extends close to the edge of the candle. This technique creates a “memory ring” for your candle and lays the foundation for future melts. This technique also helps prevent your candle from tunneling.
The recommended burn time (each time) for each beeswax candle is different but a safe rule to follow is:
<<the diameter of candle is = to the minimum hours burn time>>
Example: a 3” pillar candle should burn for 3 hrs min. A decorative or taper candle is smaller in its size and can be burned for less time.
It may seem counterintuitive but the longer your burn your beeswax candles the better they’ll perform! Have issues with your wick? Can’t get your candle to stop tunneling?
Wick Wisdom
Before each use, trim the wick to 1/4”.
Think you may have trimmed your wick too short? Simply melt the wax (using a safe heat source) around the wick until a small pool of wax forms, pour out the liquified wax, and start over!
Light the wick from the base of the wick (where the wick comes out of the candle) to allow the beeswax to absorb into the wick.
If your wick does any of the following, it likely needs to be trimmed:
- Flame Height: The flame is excessively high (more than 1 inch).
- Flickering Flame: The flame flickers or dances frequently, indicating an uneven burn.
- Smoke Production: Black smoke visible, which is a sign of an overly long wick.
- Mushrooming Wick: The wick forms a mushroom shape at the tip, which can cause soot and uneven burning.
- Large Melt Pool: The melt pool is unusually large and deep, consuming wax too quickly.
- Irregular Flame: The flame becomes irregular or starts to sputter.
Hug vs. Lantern
Lanterning is a method where you leave the walls of the candle intact. As the flame burns, it creates a hollow center, with the flame flickering from within the candle. This method creates a beautiful, lantern-like effect. Here’s how to lantern your candle:
- Light Your Candle: Allow the flame to burn as usual without pressing the walls.
- Observe the Formation: The flame will gradually drop down, hollowing out the center while leaving the outer walls standing.
- Aesthetic Appeal: Enjoy the mesmerizing flicker of the flame from inside the candle, casting a warm, ambient glow that enhances the aesthetic of your space.
Lanterning is ideal for those who love the visual appeal of a candle, enjoying the unique and stunning look it creates as it burns down. Don't forget, I have a recycling program where I'll buy back the husks of your wax!
Hugging your beeswax pillar candle involves gently pressing the softened walls of the candle into the flame. This technique ensures that the wax melts evenly, extending the life of your candle. Here’s how to do it:
- Light Your Candle: Allow the flame to create a melt pool that reaches the edges of the candle.
- Hug the Edges: Once the walls of the candle are soft, use gentle pressure to press the edges into the melt pool. This helps the wax to melt evenly and completely.
- Enjoy a Longer Burn: By using more of the wax, your candle lasts longer, providing a more sustainable and efficient burn.
Hugging is perfect for those who appreciate the full utility of their candle, ensuring that every bit of beeswax is used, and nothing goes to waste.
Slow Burn candles I recommend hugging:
- Pepper
- Winnie
- Hexagon Pillars
- Large Pinecone
- Ribbed Triangle
DRAFT-FREE IS DRIP-FREE
Tapers are sensitive to their surroundings. Burn them in a draft-free space to encourage an even, dripless burn. A gentle environment = a steady flame.
Safety
Candle safety is all about remembering that a candle is an open flame and treating it accordingly. In addition, please consider the following:
- Never leave burning candles unattended.
- Never burn a candle on or near anything that might catch fire.
- Keep candles out of the reach of children and pets.
Exceptional Quality
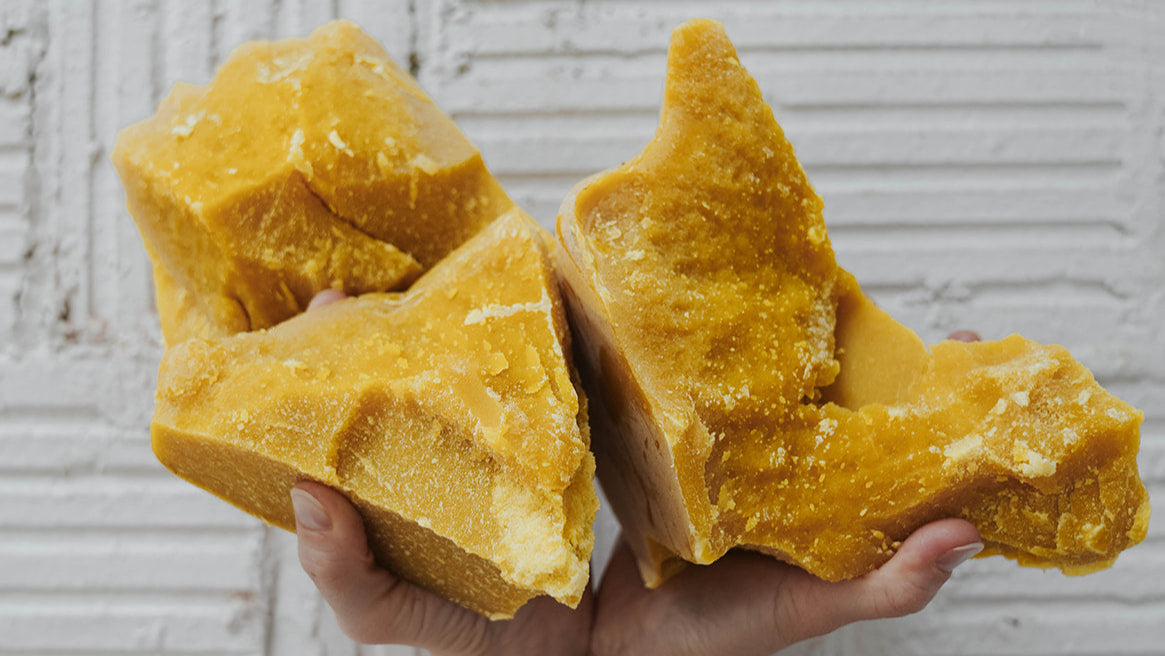
Every Slow Burn candle is made by hand out of the home studio of our founder, Sara Wait, in St. Paul, MN, using 100% pure beeswax sourced from local, family-run apiaries. The wax is triple-filtered for purity, then poured with intention into beautifully curated molds or hand dipped with care. Each candle is designed to burn cleanly and slowly, reflecting Slow Burn’s deep commitment to sustainability, artistry, and exceptional quality.
Recently viewed
Pinecones
Pinecones
Pinecones
Pinecones
Pinecones
Pinecones
Pinecones
Pinecones
Pinecones